What Is a LUT? Color Grading Lookup Tables for Beginners
- Sits under
- Creative
- Posted
- Read time, roughly
- 4 min
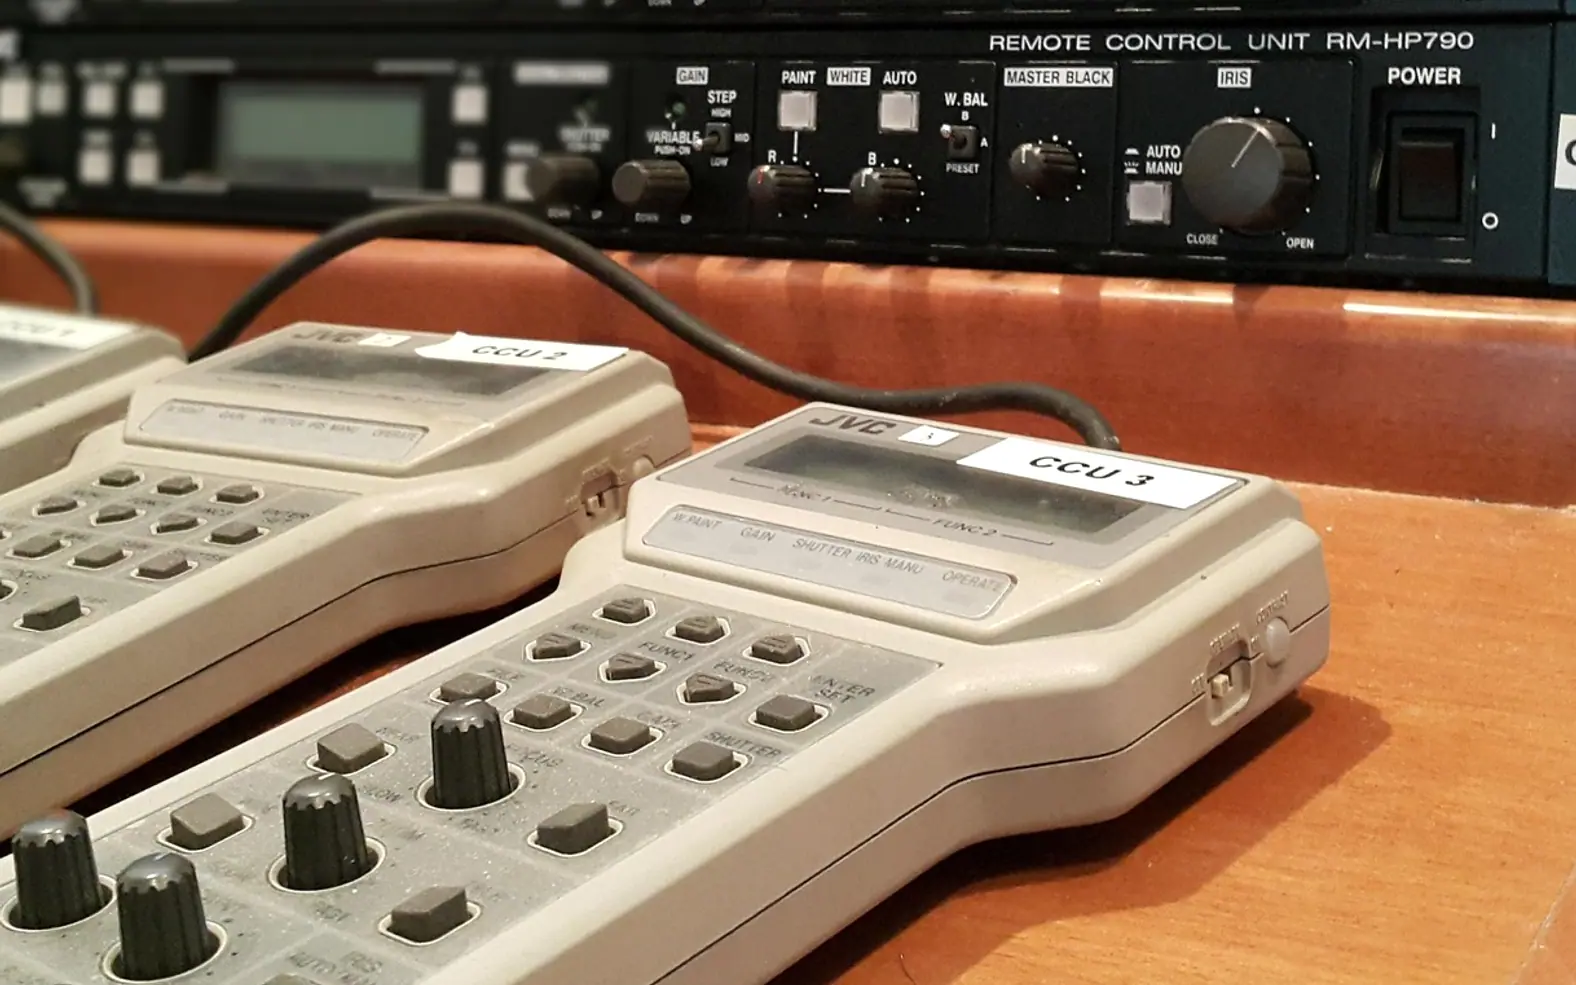
A LUT, short for lookup table, is a file that tells editing software how to turn each input colour into a different output colour. In video editing and photography, LUTs are used for two jobs: converting footage from one colour format to another, such as from a camera's flat log profile to normal-looking video, and applying a creative look, such as warm and faded or cool and high-contrast. Applying one is quick, but getting good results depends on using the right LUT at the right point in the edit.
The LUT meaning in plain terms
Think of a LUT as a translation chart. For every colour that comes in, the chart lists the colour that should come out. The software does not analyse the picture or make decisions; it simply looks up each value and swaps it. That is why the same LUT behaves very differently on two clips with different exposure or white balance. It translates whatever it receives, correct or not.
1D and 3D LUTs
A 1D LUT adjusts each colour channel, red, green and blue, separately. It can change brightness and contrast curves but cannot shift one colour without affecting others. A 3D LUT maps combinations of red, green and blue together, so it can change specific hues, for example turning greens slightly teal while leaving skin tones alone. Most LUTs used for colour grading are 3D, often saved as .cube files, which many editing programs can read.
Technical LUTs versus creative LUTs
| Type | What it does | When to use it |
|---|---|---|
| Technical or conversion LUT | Converts footage from a camera's log or flat profile into a standard colour space for normal screens | Early in the grade, on footage shot in that specific log profile |
| Creative or look LUT | Applies a stylistic grade, such as a film-inspired palette | After exposure and white balance are corrected |
| Monitoring LUT | Shows a corrected preview on a camera or monitor without changing the recorded file | On set, while shooting log footage |
Camera makers usually publish conversion LUTs for their own log profiles, and those are the safest starting point when footage was shot that way.
Why log footage looks washed out
Many cameras can record in a log profile that keeps as much highlight and shadow detail as possible. Straight out of the camera, this footage looks flat and grey, which is expected. A conversion LUT restores normal contrast and saturation, and from there the editor decides how far to push the look. Footage recorded in a standard profile, as most phones do by default, generally does not need a conversion LUT at all.
How to apply a LUT without ruining the footage
- Correct first. Fix exposure and white balance before any creative LUT. A look LUT on badly balanced footage magnifies the problem.
- Match the LUT to the source. Use a conversion LUT only on footage shot in the profile it was designed for.
- Apply it in the colour tools. Most editors let you load a LUT in the colour panel or on an adjustment layer that sits above several clips.
- Lower the intensity. Many programs offer a strength or mix control. Creative LUTs often look best somewhere below full strength.
- Check skin tones and highlights. Watch for orange or green faces and bright areas that have clipped to flat white.
- Compare before and after. Toggle the LUT on and off on a few different shots, not just the one you started with.
Mistakes beginners make
- Stacking LUTs. Piling several looks on top of each other quickly crushes detail.
- Using a log LUT on standard footage. The result is extreme contrast and oversaturated colour.
- Grading one shot in isolation. Scenes cut together need consistent colour, so grade with the sequence in view.
- Ignoring the look of the whole project. A mood board with lighting and colour references keeps the grade pointed at the agreed direction.
LUTs beyond film projects
LUTs are not only for cinema. Short social clips, music visualisers and podcasts turned into video all benefit from consistent colour. If you are turning an audio track into an MP4 with visuals, one gentle LUT applied across every background clip makes the result feel planned rather than assembled. Photographers use the same idea: many photo apps can load LUTs or similar presets, which helps a series of portraits share one look, much as people expect consistent colour in professional headshots across a team page.
Quick questions
Do LUTs reduce image quality?
A well-made LUT applied to suitable footage does not visibly harm quality. Strong looks can clip highlights or shadows, so adjust exposure or intensity if detail disappears.
Is a LUT the same as a filter or preset?
They overlap. A LUT is a fixed colour mapping, while presets in photo apps may also change sharpness, grain or exposure settings.
Can I make my own LUT?
Yes. Many colour grading programs can export a finished grade as a LUT file, which is handy for applying the same look across projects or devices.
Fresh in every section
Good places to start
 InsurancePet Insurance Waiting Periods: How They Work Before Cover Starts4 min
 GardeningWhy Are My Solar Lights Not Working? Simple Checks and Fixes4 min
 Real estateImpact of Singapore’s Real Estate Boom on Local Communities2 min
 Social MediaThe Cost of Ignoring SEO: What Montreal Businesses Risk Losing2 min
Questions? Write to us.
Suggestions help us plan.